Configure surfaces for closed services and buttons
To use the feature to close services and button, you need the Service Scheduler and SMS Logic widget. You also need to configure open hours for services and buttons in Service Scheduler.
Note
For a list of all settings in the widget, see Service Scheduler and SMS logic widget settings.
Suggested surface pages
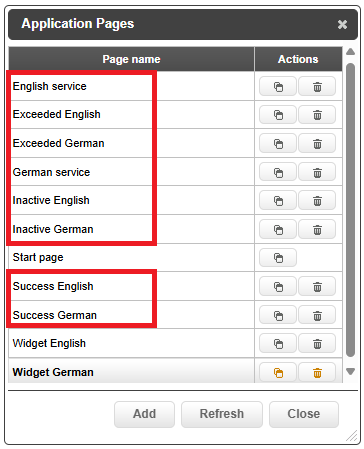
To be able to schedule services and buttons and define what happens when they are closed or disabled, you need some pages in your touch screen surface. Exactly which pages you need depends on the configuration and the desired flow. Here are some suggestions for pages you might need:
A page with the Service Scheduler and SMS Logic widget, either on a page where customers can enter their phone number (see Allow customers to enter phone number when using a check-in kiosk, or on a page which is never shown (if you don’t want to use the phone number input feature)
Note
If your system needs to support multiple languages, you must configure one Service Scheduler and SMS logic widget per language. For more information, see Configuring Service Scheduler widget for multiple languages.
One or more pages to show when services are closed according to the service schedule.
One or more pages to show when buttons are disabled.
One or more pages to show when services are instantly closed due to an unforeseen event.
Page or pages to show when max number of tickets is reached.
A page to show when a service is closed due to the service schedule could for example look like this:
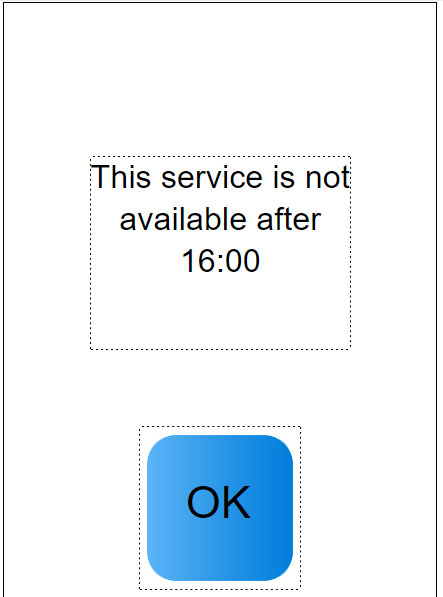 |
Configuring Service Scheduler widget for multiple languages
If your system needs to support multiple languages, you must configure one Service Scheduler and SMS logic widget per language. This ensures proper display and behavior of scheduled services and buttons on touch surfaces with different locales.
Add system languages.
Create pages in Surface editor.
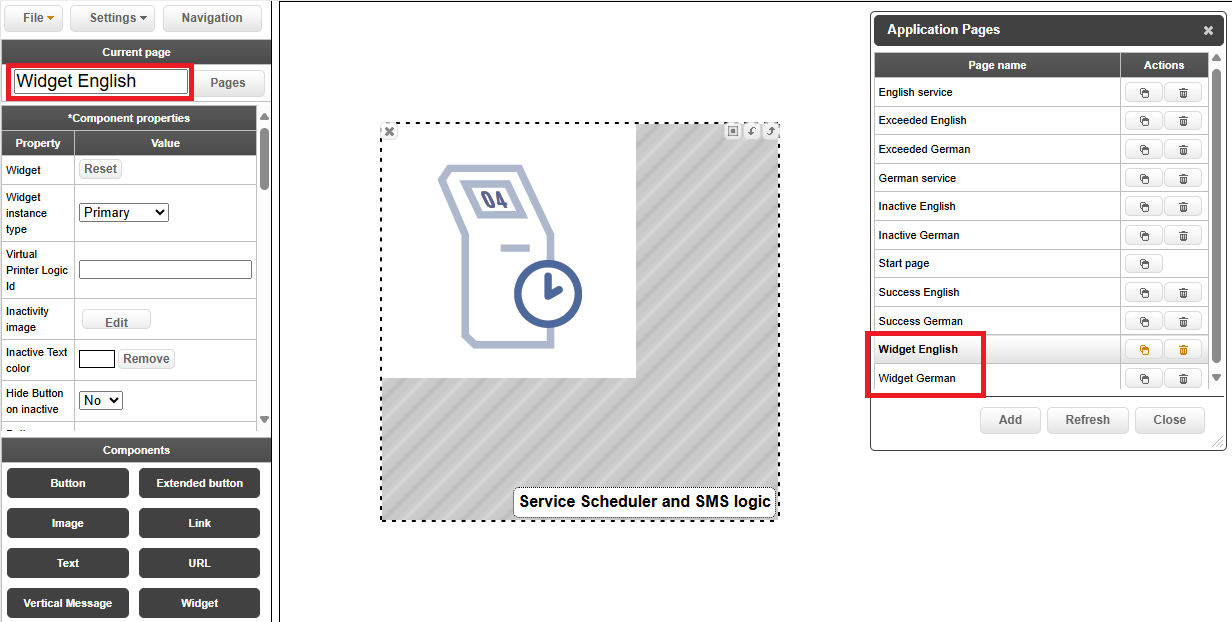
In the Surface editor: Create one page per language
Tip
We recommend using the following naming convention: e.g., Widget English, Widget German, etc.
Place a Service Scheduler and SMS logic widget on each page.
Important
Do not place other components on the widget pages.
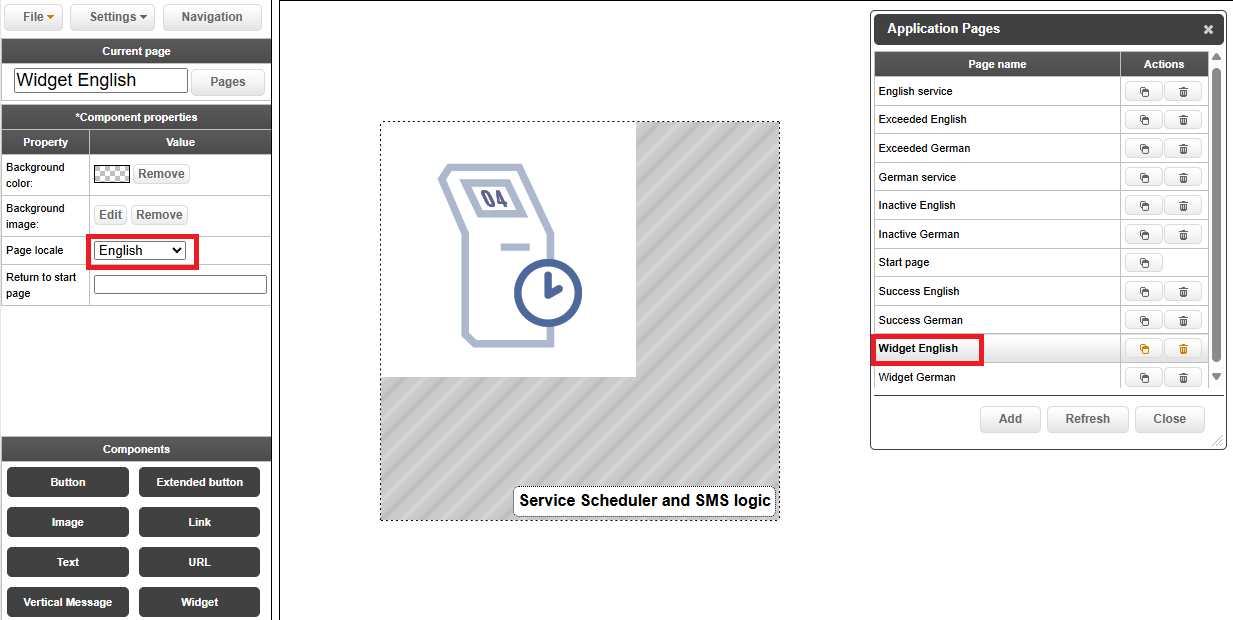
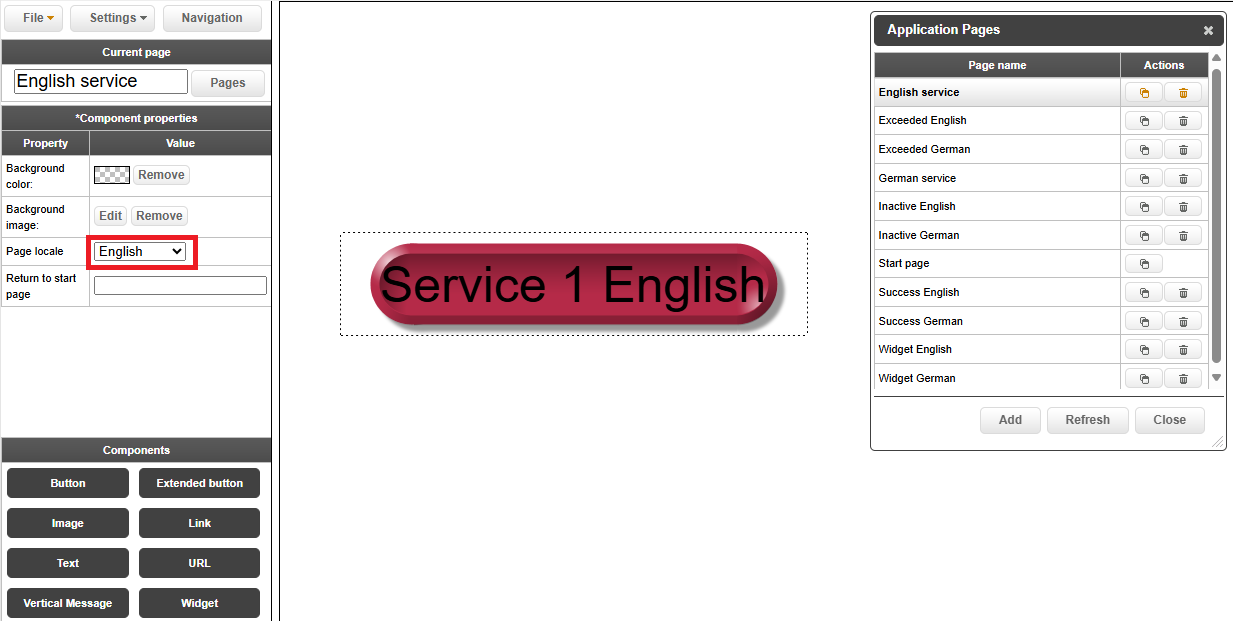
Set Page Locales
In Surface Editor, set the Page Locale of each widget page to match its intended language. To display the surface settings, click on the surface area outside the widget.
Configure widget instance type
Set one widget as Primary – this widget checks buttons and links on pages with the same or no locale.

Set all other widgets as Secondary – these check only buttons and links on pages with the same locale.
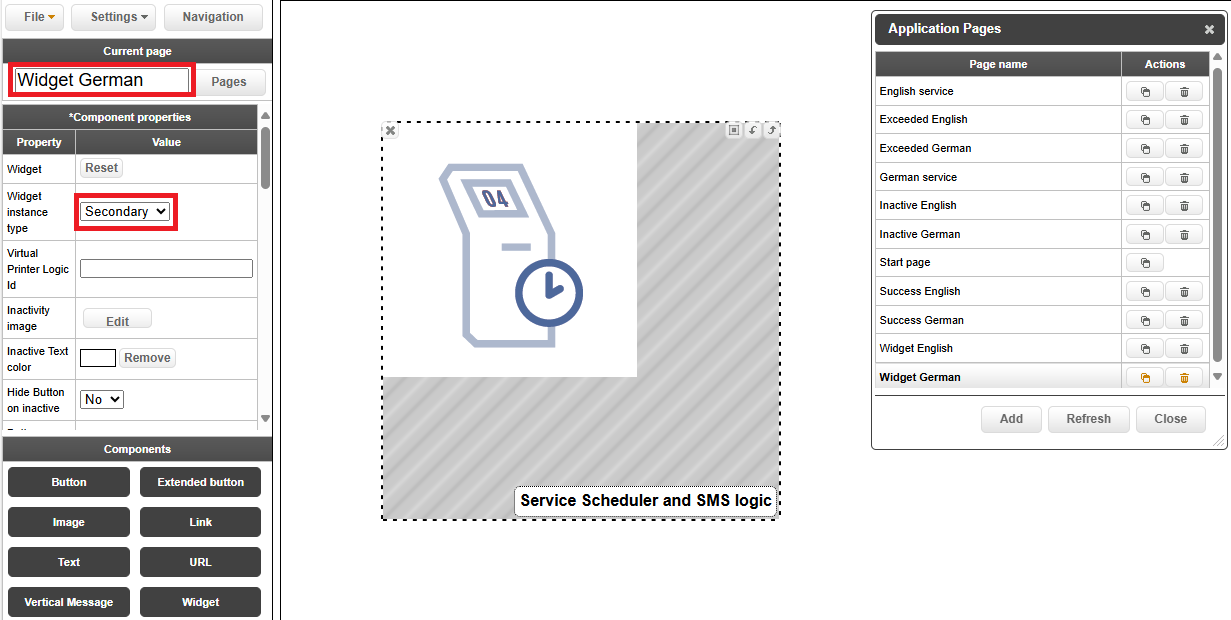
If using a single widget, set its type to Standalone (default).
Create all pages, adjusts widget settings by locale, and link navigation
Create the pages for each language that are to be used by the widgets
Set each page to use the relevant Page locale.
Make sure that buttons and links on surface pages navigate to the correct locale-specific pages.
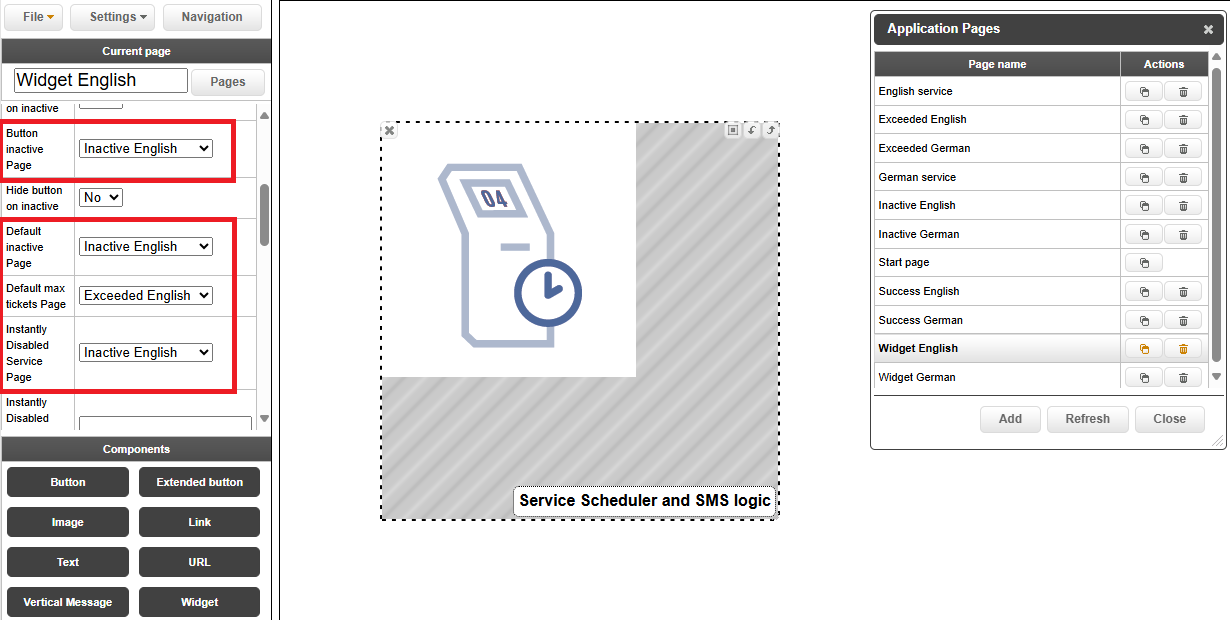
Set all language-dependent links in the widget settings to the correct pages (e.g., "Default inactive page", etc.).
Define what happens when service is closed
What happens when a service is closed is mainly defined in the widget. There is also a possibility to set a page specific for the service/template in the Service Scheduler application.
Configure the widget
Make sure the pages you need have been created.
In the touch surface in Surface Editor, mark the Service Scheduler and SMS logic widget.
In the widget settings, define what will happen on the screen when a service is closed:
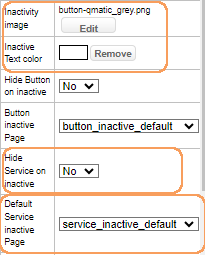
If you want closed services to be hidden, select Yes for the Hide Service on inactive setting. If you hide closed services, you don’t need to do any other settings, because the service button won’t show anyway.
If you want the service button to look different, for example to be grayed out, upload a button image for Inactivity image. You can also select a text color for inactive services.
If you want to link to another page, saying something like “This service is currently not available,” select a page for Default service inactive page. If you don’t want to link to another page, select [None].
Save the surface and publish the branch or branches if you wish to apply the changes.
Change the settings per service (optional)
For some services, you may want to show a specific page which differs from the default.
Go to Service Scheduler > Services/Templates.
In the service/template settings, enter the page name manually in the Page to show when service is deactivated by schedule setting. The name needs to be exact, so we recommend copying the name from Surface Editor and paste it here. If you don’t want to link to a page specific for the service, leave the field empty.
Save the service/template schedule. Changes are applied within 60 seconds.
Define what happens when button is disabled
What happens when a button is closed is mainly defined in the widget. There is also a possibility to set a page specific for the button in the Service Scheduler application.
Configure the widget
In the Surface Editor, open the touch surface and go to the page where the Service Scheduler and SMS logic widget is placed and mark it.
In the widget settings, define what will happen on the screen when a button is disabled:
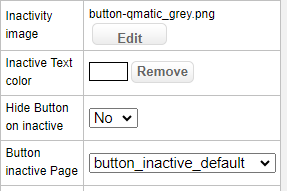
If you want disabled buttons to be hidden, select Yes for the Hide Button on inactive setting. If you hide disabled buttons, you don’t need to do any other settings, because the button won’t show anyway.
If you want the button to look different when disabled, for example to be grayed out, upload a button image for Inactivity image. You can also select a text color for inactive services. Note that these settings are shared with the closed services settings.
If you want to link to another page, saying something like “This button is currently not available”, select a page for Button inactive page. If you don’t want to link to another page, select [None].
Save the surface and publish the branch or branches if you wish to apply the changes.
Change the settings per button (optional)
Go to Service Scheduler > Buttons and select a button schedule.
In the button schedule settings, enter the page name manually in the Page to show when button is deactivated by schedule setting. The name needs to be exact, so we recommend copying the name from Surface Editor and paste it here. If you don’t want to link to a page specific for the button, leave the field empty.
Save the button schedule. Changes are applied within 60 seconds.
Define what happens when service is instantly closed
From the Service Scheduler application, there is an option to instantly close services due to unforseen events. What happens when a service is instantly closed mainly uses the same settings as when services are closed based on the regular scheduler. However, you can make some specific settings related to instantly closed services
Configure the widget.
In the Service Scheduler and SMS logic widget, you can select a page for the Instantly Disabled Service Page setting. If you don’t want to link to another page, select [None].
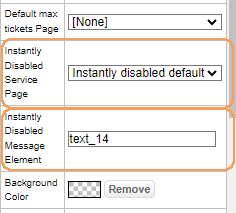
If you want to be able to show a specific message when a service is instantly closed, insert an empty text component. This will be filled with the message written in Service Scheduler. Save the component ID for the next step.
In the Instantly Disabled Message Element setting, enter the component ID for the empty text component.
Save the surface and publish the branch or branches if you wish to apply the changes.
Change the settings per service
Go to Service Scheduler > Services/Templates.
In the service/template settings, enter the page name manually in the Page to show when instantly deactivated setting. The name needs to be exact, so we recommend copying the name from Surface Editor and paste it here. If you don’t want to link to a page specific for the service, leave the field empty.
Save the service/template schedule. Changes are applied within 60 seconds.