Allow customers to enter phone number when using a check-in kiosk
You may want to ask customers to enter their phone number so that they can get updates about their place in line in their phone. You can for example send a link to Mobile Ticket so they can follow their queue position online, or you can send a text when their ticket reaches certain positions. The text message content and at which positions texts are sent are defined in Notification Admin and the Notification unit type. See Notifications overview.
Step 1: Create a phone number input page
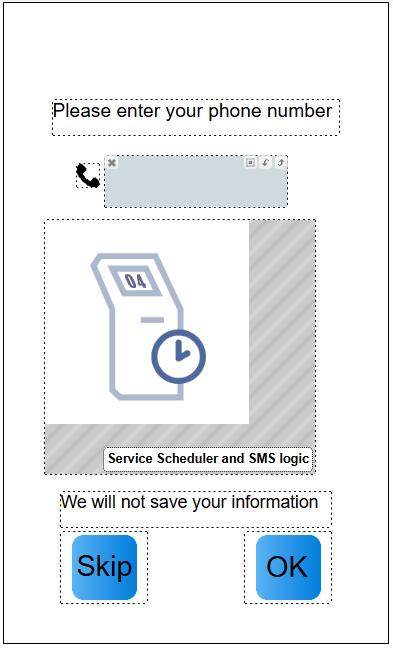
Make sure there is a page for phone number input where the Service Scheduler and SMS logic widget is placed. The page must contain the following components:
a component for the phone number input field
Tip: Have one image component which shows the input field border and one text component where the text input is displayed.
an OK button
a Skip button
Write down the component ID of the components. To see the component IDs, open the navigation panel.
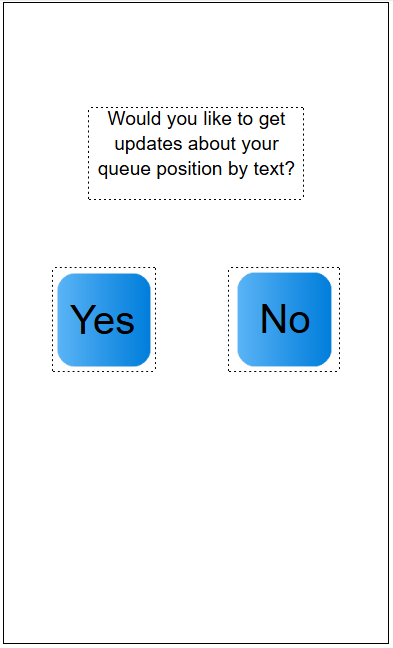
Before customers get to the Enter phone number page, you may also want to have a Yes/No page where you ask the customer if they want to leave their phone number.
Step 2: Configure the phone number input page
In Surface Editor, open the touch surface and go to the page where the Service Scheduler and SMS logic widget is placed.
Mark the Service Scheduler and SMS logic widget and change the following widget settings:
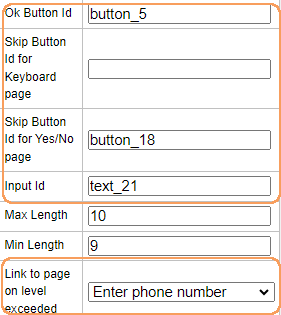
Input Id: Component ID of the text component showing the input value.
Ok button Id: Component ID of the component which will add the phone number to the visit.
Skip Button Id for keyboard page: Component ID of the component which will skip entering the phone number.
Skip Button Id for Yes/No page: Component ID of the component which will skip to go the input page (only needed if you have a “Add phone number: Yes/No” page).
Link to page on level exceeded: Select the page to link to when the SMS setting is triggered (i.e. the phone number input page in most cases).
If you want to customize the look and feel of the keyboard, and also change the max and min length of the input, change the following settings:
Background Color: Keyboard background color
Font: Font used for the text on the keyboard keys
Font Color: Font color for the text on the keyboard keys
Key (0-9) Image: Image for the keys 0-9
Key (Del, Clear) Image: Image for the Delete and the Clear keys
Max Length: Max number of characters the input can be
Min Length: Min number of characters before the OK button becomes active.
Save the surface and publish the branch or branches for changes to be applied.
Step 3: Configure when to show the phone number input page
You can set up the phone number input page to be shown when there are x number of waiting customers, or when the waiting time is x minutes. You can also configure the phone number input field to always be shown after the customer selects a service.
The settings for when to show the phone number input page are configured in the Service Scheduler application.
In Service Scheduler > Services/Templates, select a service/template.
To enable the SMS feature, check the SMS/Email Setting checkbox. This triggers the phone number input page to be shown when a service is selected.
Select if the SMS feature should be based either on number of waiting customers, or current waiting time.
Enter a value in the Active Above field. Set the value to -1 to always trigger the SMS feature (as long as the SMS/Email Setting is enabled).

In the example above, the customer will be linked to the enter phone number page when the number of waiting customers for the service exceeds 5.
Save. The changes are applied within 60 seconds.