User guide: Check in view
With the check-in functionality in Experience Cloud, you can provide personalized service in meet-and-greet situations. From the Check in view, you can:
check in appointment customers, either manually or by scanning a QR code
create visits for walk-in customers and print paper tickets, if there is a connected printer
edit customer information
cherry-pick visits to serve
transfer visits between queues.
You reach this view by selecting Check in in the left menu.

The first thing you need to do is to select the branch and the service point where you are working. Check the Skip next time check box if you want this to be your default setting and click Apply settings.
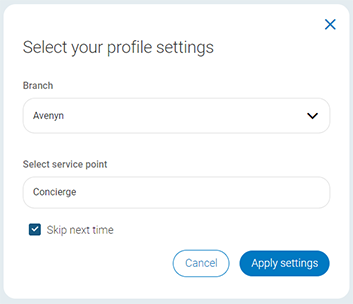
If you need to change branch and service point while working, click Edit in the top bar.
On the landing page, you can see queue and visit information to the right. To the left, you can have different options to quickly create a visit or quickly check in a customer, depending on the settings. In the bottom, you have menu options to start the flows for checking in a customer or creating a visit.
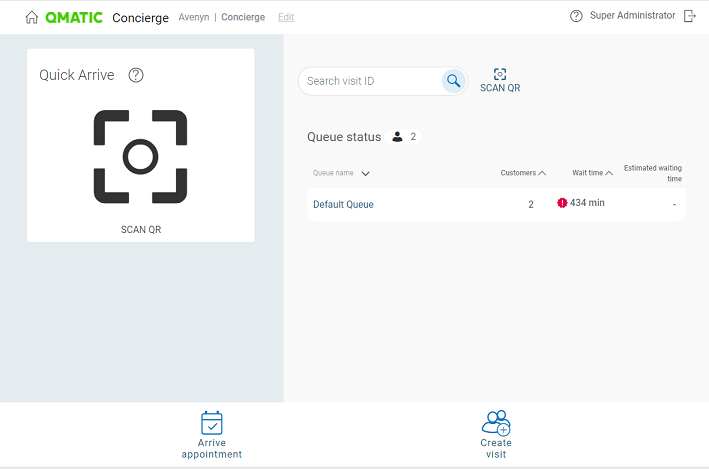
To log out, click Log out in the top right corner.
To go back to the portal, click Experience Cloud Portal in the top bar
To read the accessibility statement, click Accessibility statement in the bottom right corner.
Checking in customers
There are two ways to check in customers:
Standard check-in flow: This flow is activated when clicking Arrive appointment and gives you different options to find an appointment and also the possibility to edit the services for the visit.
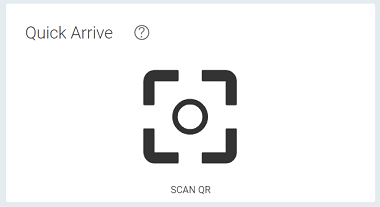
Quick Arrive feature: This feature can be accessed in the left part of the landing page and gives you the option to quickly check in a customers by scanning a QR code. Select Scan QR and point the scanner towards the QR code. Once the appointment is found, the customer details are shown. Select a notification option and the customer will be checked in.
Note
This feature is configurable and may not be available in your system.
To check in a customer:
From the start page, select Arrive appointment.

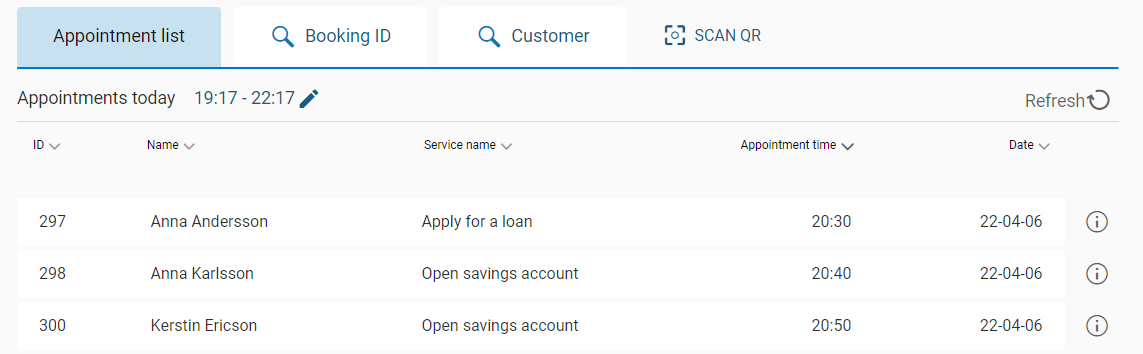
A list of upcoming appointments is shown:
Find the appointment you want to check in by one of the following methods:
Appointment list: Manually find an appointment by browsing through the list of upcoming appointments. All appointments within the selected time interval for the branch you are logged in to are listed here. To select another time interval, click Edit . To refresh the list, click Refresh.
Booking ID: Find the appointment by entering the external appointment ID. Then click Fetch.
Customer: Find the appointment by entering first name, last name, date of birth, email, or phone number in the search field.
Note
The customer data you see in this view depends on how your organization has configured customer data preferences. If you have questions about missing fields or required information, contact your system administrator or manager.
If the customer name is hidden, it will be replaced by a clickable customer icon (
 )
)Scan QR: Find the appointment by scanning a QR code.
When you have found the appointment, click Done.
The Confirm step is opened. If you want to edit the services connected to the appointment, go to the Edit service step in the top bar before confirming the appointment. Click Done when you are ready.
In the Confirm step, you see the appointment details. If applicable, select a VIP level for the appointment.
Select a notification option: SMS, Print ticket or Ticketless. All may not be available in your system. The option Ticketless means no ticket is printed and no SMS is sent.
Click Confirm.
If you have selected SMS as notification option and there is no phone number saved for the customer, you are asked to add a phone number.
Depending on the settings, you may get a warning that the customer checks in too early or too late. Select if you want to check in the customer anyway, or if you want to cancel the check-in process.
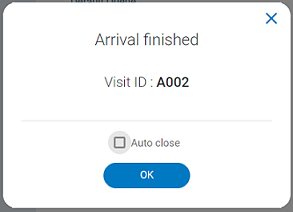
When the appointment is checked in, the ticket number is shown in the confirmation popup.
Creating visits
You can help walk-in customers to select a service and place them in a queue. This creates a visit in the system. Depending on how the system is set up, the customer can be given a physical ticket with a ticket number, or sent an SMS with their ticket number and a link to a virtual ticket.
To create a visit:
From the start page of the check-in view, select Create visit.

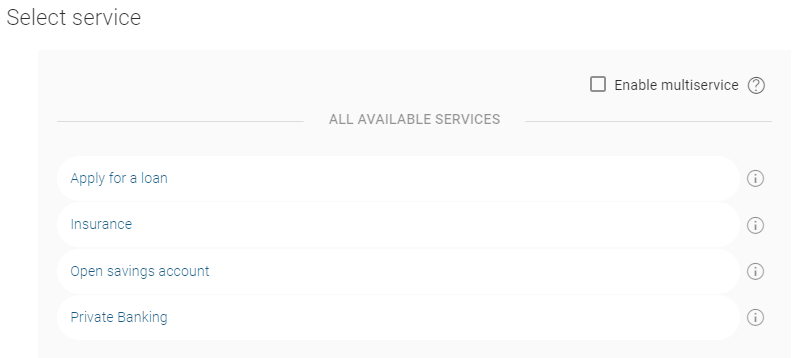
Select a service. Check the Enable multiservice checkbox if you need to select more than 1 service. Maximum five services can be added. Hover over the info icon to see more information about the service.
Optionally, add customer information to the visit. Which information you can fill in depends on the settings for your organization.
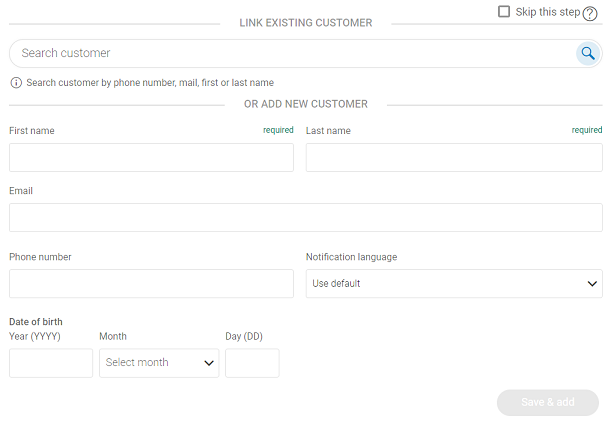
To add an existing customer to the visit, find the customer by searching for name, email or phone number in the search field. This option is only available if customers are stored in a database.
To add a new customer, fill in the customer form and click Save & Add.
In the Confirm step, you will see the details for the visit to the left. Depending on the configuration, you can change language, add marks, notes and other custom information.
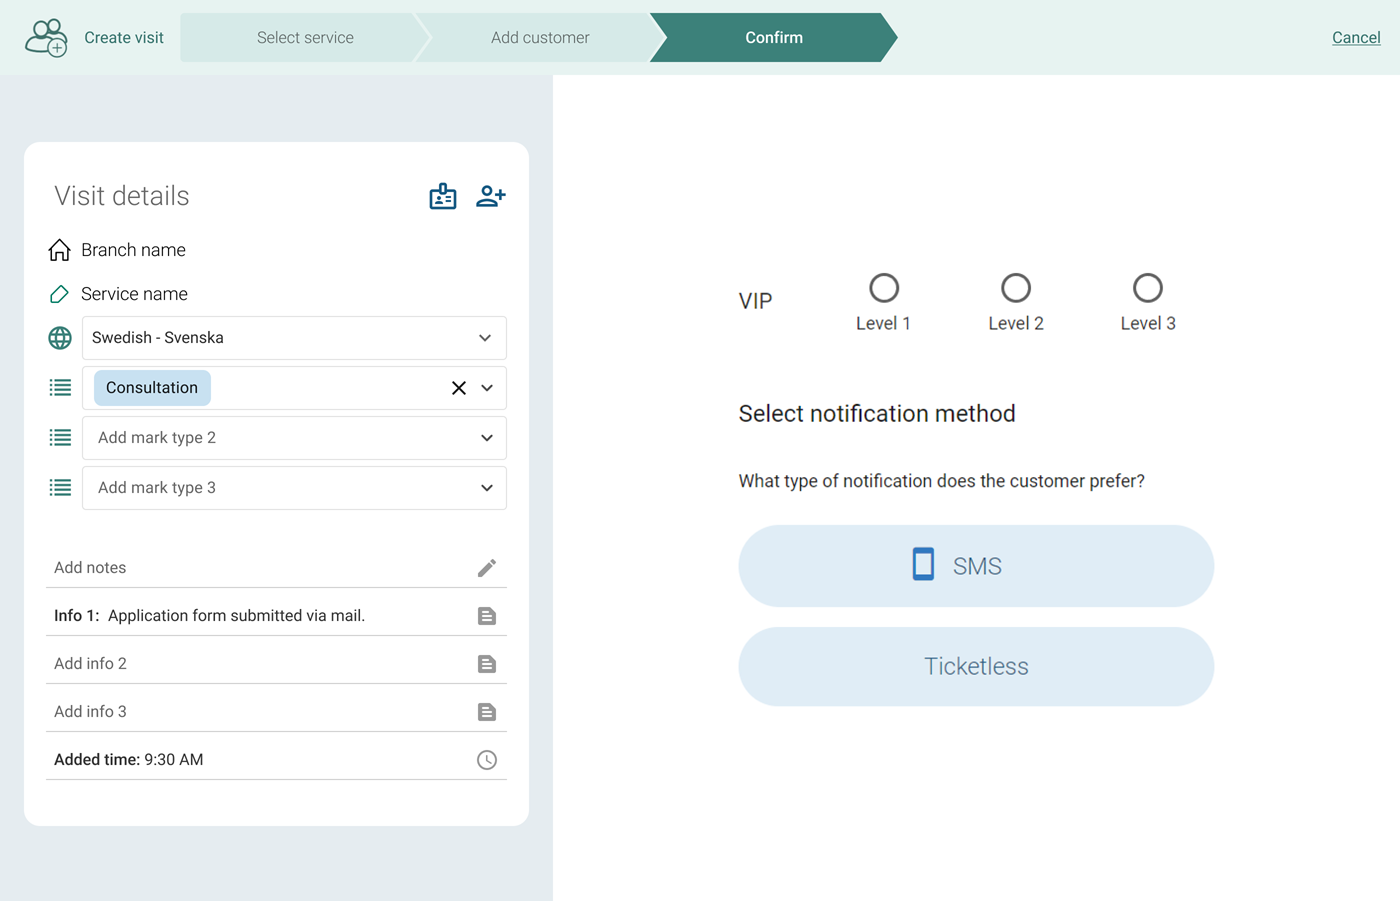
If applicable, select a VIP level for the visit.
Select a notification option: SMS, Print ticket or Ticketless. The option Ticketless creates a visit and places the customer in a queue without printing a ticket or sending an SMS.
Click Confirm. A confirmation popup with the ticket number is shown.
Note
If marks are mandatory, you will not be able to confirm visit creation without adding at least one mark. See ???
Managing visits
There are several options for handling visits.
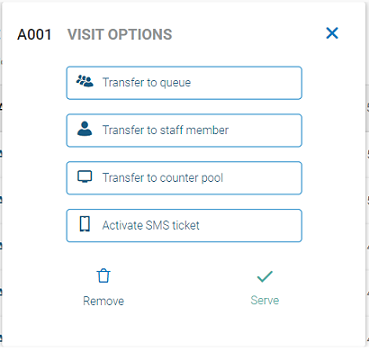
To find a visit, you can either search for it, scan the QR code on a paper ticket, or find it in the list of visits in a queue. Once you have found the visit, you have the following options (some may not be available depending on the settings in your organization):
Transfer: You can transfer the visit to a queue, another staff member or a counter pool. When transferring to a queue, select if you want to transfer the visit to first in line
 , last in line
  or based on waiting time
  .
.Remove: you can remove a visit from the queue or pool, for example if it was created by mistake.
Serve: If a customer has a ticket and gets the help they need from you, without being called to a counter, you can mark the visit as served. If the customer walks up to you and gets help without taking a ticket, you can use the Quick Serve feature, if that is available in your system.
Activate SMS ticket: You can send an SMS to a visit in the queue, which usually contains a link to a virtual ticket, so the customer can follow their visit online. The content of the SMS is pre-defined by an administrator.
Quick Serve
If a customer approaches you without having a ticket and you can quickly help him or her, it's possible to register the visit in the system. This can be helpful for statistics purposes.
Note
This feature is configurable and may not be available in your system.
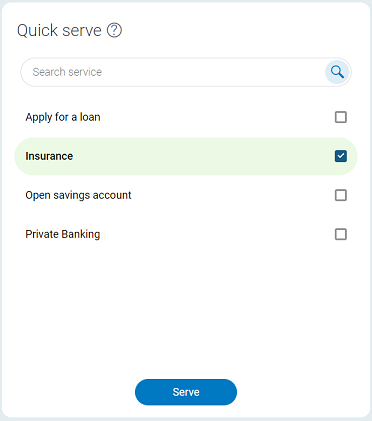
To do a Quick Serve, select a service and then click Serve. You have now created, called, and ended a visit by clicking just one button.
Limitations:
Services that require that a delivered service or outcome is set, are not supported for Quick Serve, and are therefore not listed as options.
It is not possible to select several services.
Queue view
On the start page, you can see the queue view, showing information about the queues.
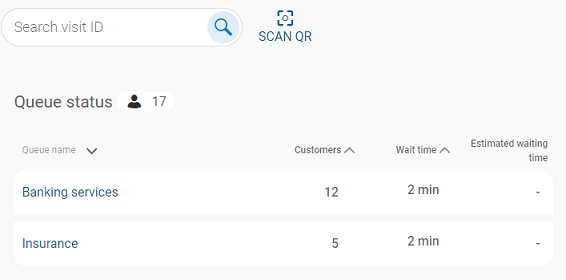
For every queue, you can see:
Customers – the number of customers in the queue
Wait time – the longest time someone in the queue has waited. You can also see an indication if the queue is close to passing the service level agreement (yellow icon), or has already passed it (red icon).
Estimated waiting time – the estimated waiting time in intervals of 5 minutes.
You can sort the queues by using the up and down arrows for each column.
To find a visit, enter the full ticket number in the Find ticket search field and press Enter. If you have a QR code scanner, you can also select Scan QR to scan the QR code on a paper ticket to find the visit.
Click on a queue to see all visits in that queue. For each visit, you can see:
Ticket number – the ticket number of the visit
Notes – If notes are added to the visit, hover over the notes icon to see the full note.
Info – If custom information is added to the visit, hover over the info icon to see any added custom information.
Name – the customer name
Service – the selected service for the visit
Appointment time – the appointment start time, if the visit is an appointment.
Wait time – the time the customer has waited
You will also see if there is a note attached to the visit. Hover over the note icon to see the full note.
By clicking on a visit in the queue (or if you open it by searching for it or scanning a QR code), you can transfer, remove or serve the visit.