Manage resources and resource pools
Every appointment requires time from one or several resources, who belong to different resource pools. Resources can be any of the categories staff, room and equipment.
Note
Resources and resource pools are set up on branch level.
About resources
There are also two kinds of resources: virtual and specific.
Virtual resources: Virtual resources is way to offer reservations towards a "capacity of resources" without specifying exactly which staff/room/equipment is being booked. If you use virtual resources, you don't need to add resources one by one, you just create a virtual resource pool and set a capacity of the pool, which represents the number of available resources in the pool.
Specific resources: Specific resources are individually added and named resources. Specific staff resources are linked to actual users in the system and can be part of a resource pool, but it's not necessary. Specific staff resources are required if you want to use the Outlook Calendar integration, or if you want customers to be able to book appointments with specific staff members.
You would normally have either virtual or specific resources in your system, but it's possible to have both.
About resource pools
A resource pool is a group of resources with the same resource type which determines which services the pool can serve. If you want it to be possible to select "Any" as option when selecting a resource during the booking process, or if there should be no option to choose a resource, you have to group the resources of that type in a pool.
Pools can consist of either specific or virtual resources.
A pool of specific resources is a way to group specific resources with the same resource type, allowing customers and staff to book appointments without selecting specific resources. When the "Any" option is selected in the booking form (or if no selection is allowed), the appointment is assigned to one of the available resources. The availability of the resources in specific resource pools is defined by the pool assignment schedule for each resource.
Note
To enable appointment booking with specific resources, the resources must be added to a resource pool.
For rooms and equipment, this is required — the system does not support direct bookings for individual rooms or pieces of equipment.
For staff, we strongly recommend using a resource pool. Otherwise, only direct bookings with specific staff members will be available.
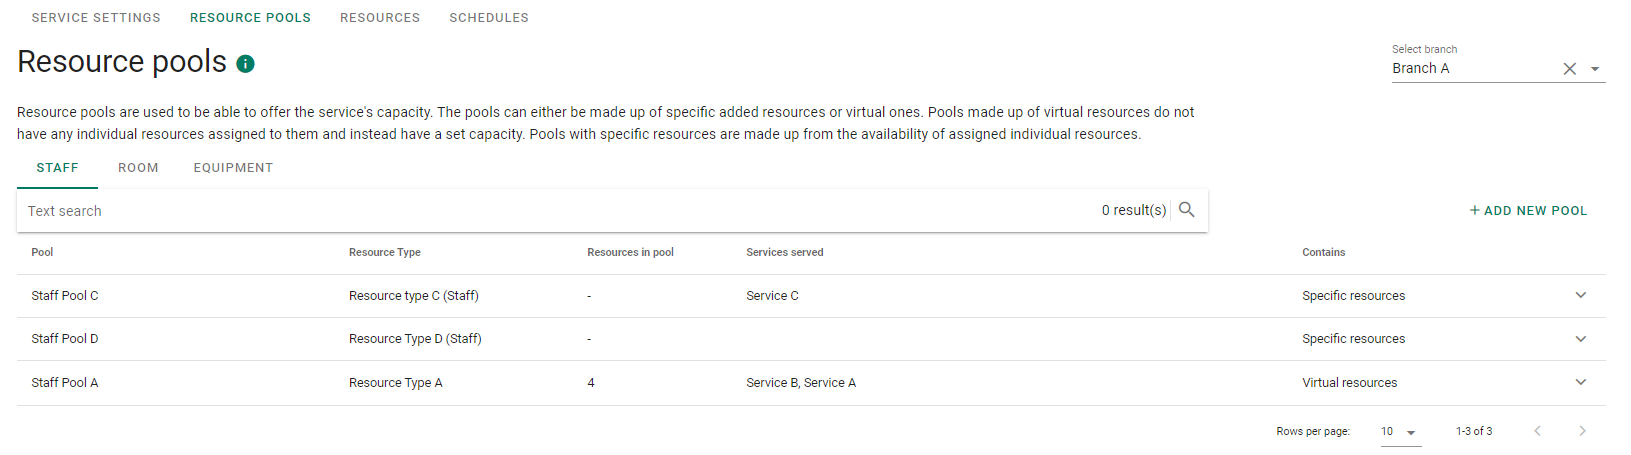
You can see the resource pools in your system in Appointments > Branch-specific > Resource pools.
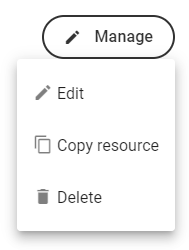
To edit a resource pool, select the resource pool in the list and click Manage > Edit. Make any wanted changes and click Confirm.
To delete a resource pool, select the resource pool in the list and click Manage > Delete.
Adjust capacity in virtual resource pools
To change the regular capacity of a resource pool:
Go to Configuration > Appointments > Branch-specific > Resource pools.
Expand a resource pool and select Manage > Edit.
Adjust the number in the Resource capacity in pool field.
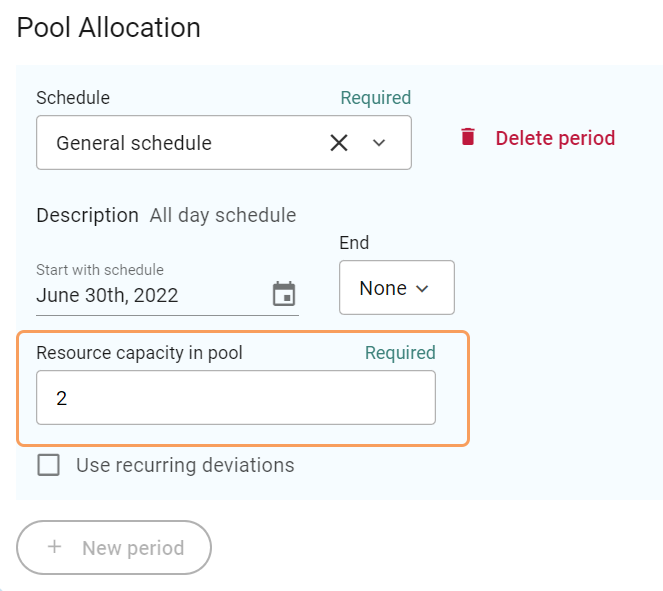
You can also choose to set a recurring deviation from the schedule when the number of resources is higher or lower than usual.
When done, confirm.
Tip
You can temporarily change the capacity of a resource pool from the Plan view.
Create virtual resource pools
Go to Configuration > Appointments > Branch-specific > Resource pools, click Add new pool.
A window opens with the following fields:
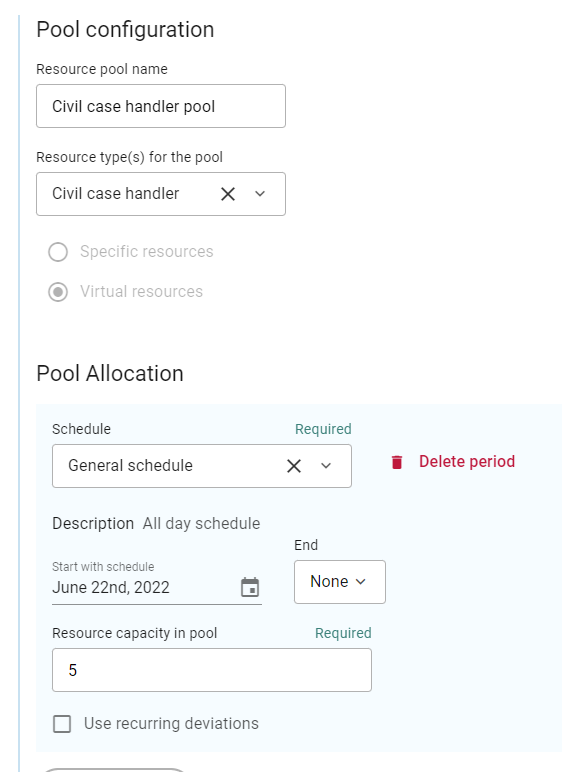
Enter a name which will make the pool easy to identify.
Select a resource type for the pool.
For pool type, select Virtual resources.
In the Pool Allocation section, select a schedule and define the period for when the schedule should run.
Enter the number of available resources in the pool.
Confirm.
Add specific resources
Specific staff resources are linked to actual users in the system. Specific staff resources are required if you want to use the Outlook Calendar integration, or if you want customers to be able to book appointments with specific staff members.
You can see the specific resources in your system in Appointments > Branch-specific > Resources.
To add specific resources:
Make sure the users in your identity provider are connected to the system. Only a Qmatic administrator can connect users.
In Appointments > Branch-specific > Resources, open the relevant tab and click Add staff/room/equipment.
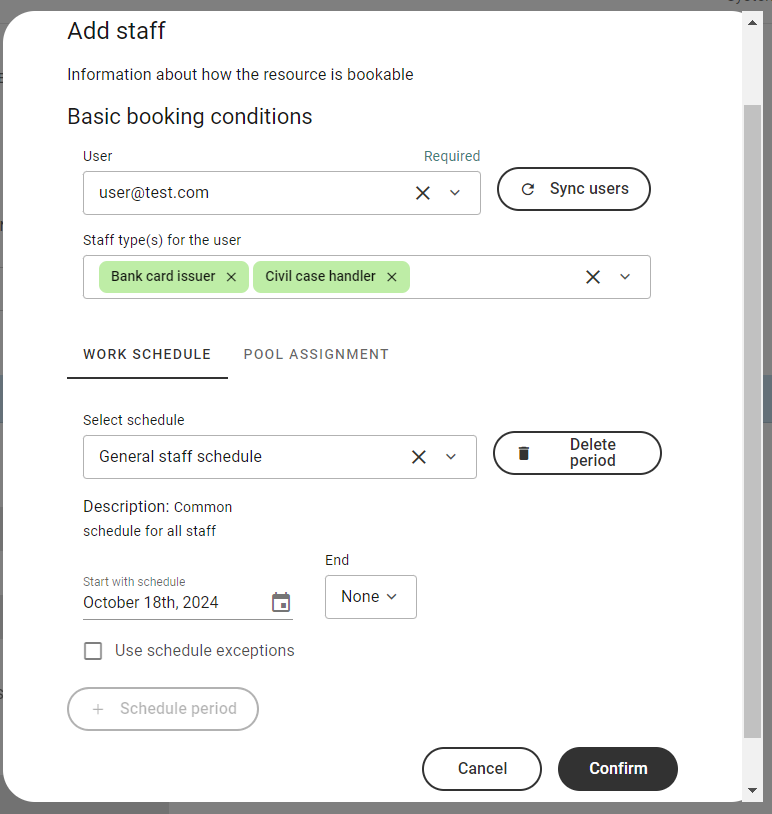
Enter a room/equipment name or select a user from the list of connected users. You can click Sync Users to update the list of users.
Select one or more resource types for the resource.
Select a schedules and if wanted, a start and end date.
If the resource should be assigned to a pool, go to the Pool Assignment tab and assign the resource to a pool.
If you wish to apply exceptions from the schedule used, check the box Use schedule exceptions and add any blocks when the resource is either available or unavailable.
Click Confirm.
Create specific resource pool
In Appointments > Branch-specific > Resource pools, click Add new pool.

Enter a name which will make the pool easy to identify.
Select a resource type for the pool.
For pool type, select Specific resources.
When done, confirm.
Edit, delete and copy specific resources
To edit, delete or copy resources, go to Appointments > Branch-specific > Resources and open the relevant resource category (Staff/Room/Equipment).
To edit a resource, click Manage > Edit. Make the wanted changes and then click Confirm.
To delete a resource, click Manage > Delete.
To create a new resource based on an existing resource, click Manage > Copy resource. Make any wanted changes and click Confirm.