Tutorials: creating notifications
This section contains step-by-step instructions for setting up common types of notifications.
Tutorial: Create an appointment confirmation
This tutorial describes how to create an appointment confirmation message. The message includes links for canceling or rescheduling the appointment, and uses variables to insert appointment-specific information.
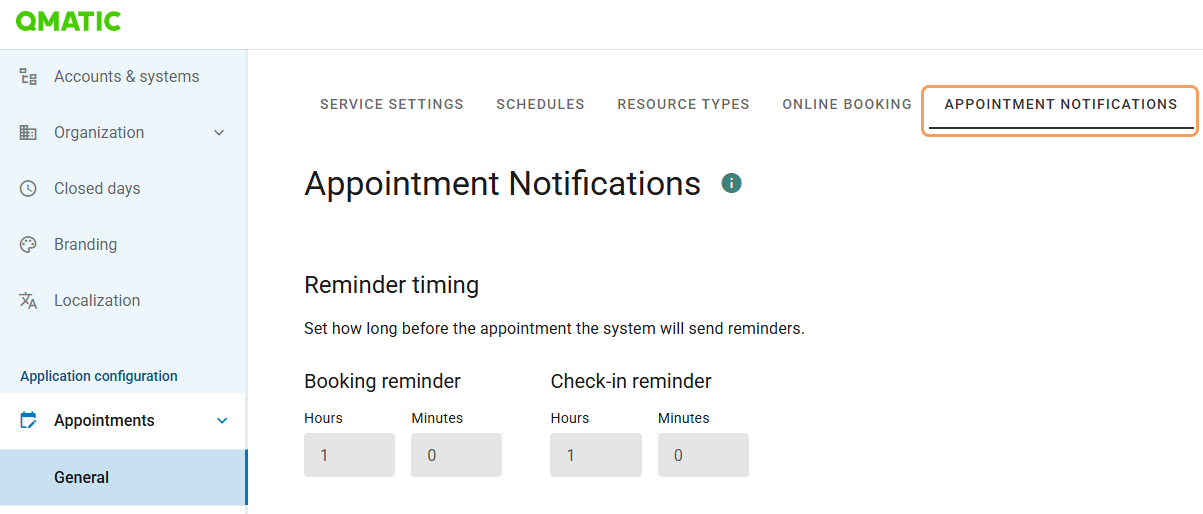
Go to Appointments > General > Appointment Notifications. This is where all appointment notifications are configured.
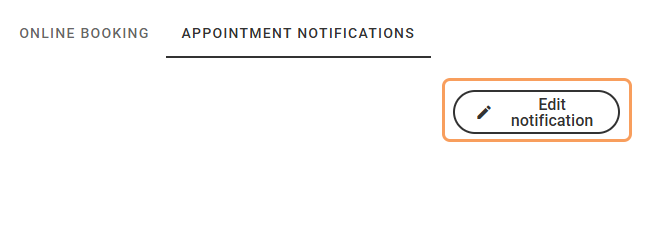
Click Edit notification.
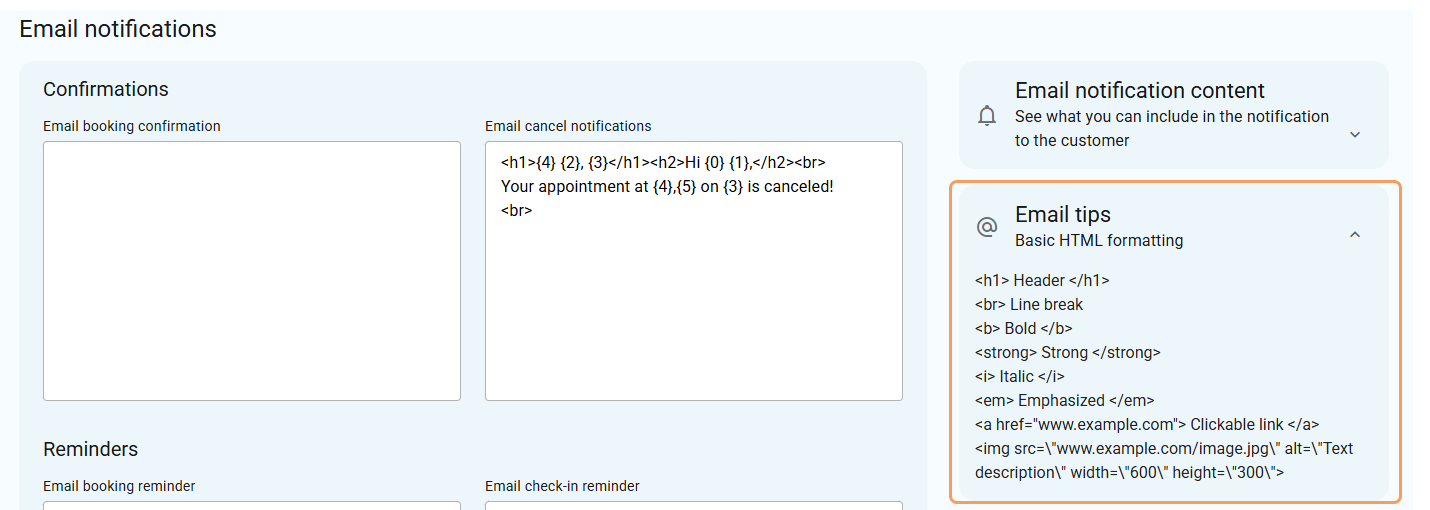
Start by creating a booking confirmation for the primary language, in this case English US. Plan the content of the message before writing.
The message must be formatted using HTML. The interface displays information about basic HTML formatting and the variables that can be used.
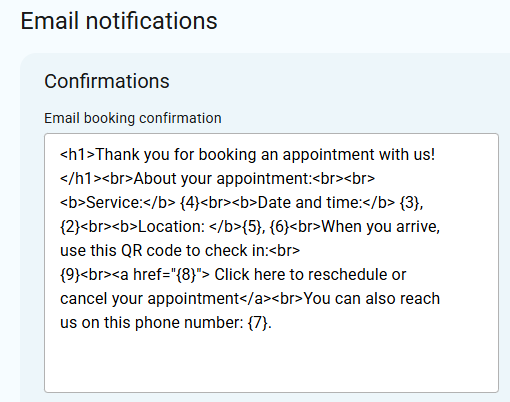
The message can look something like this:
To test the message, fill in your email address in the Email notification preview field and click Send preview.

Adjust the message as needed.
To include service-specific information, go to Service settings. Click Manage > Edit, add the service-specific message, and click Confirm to save.
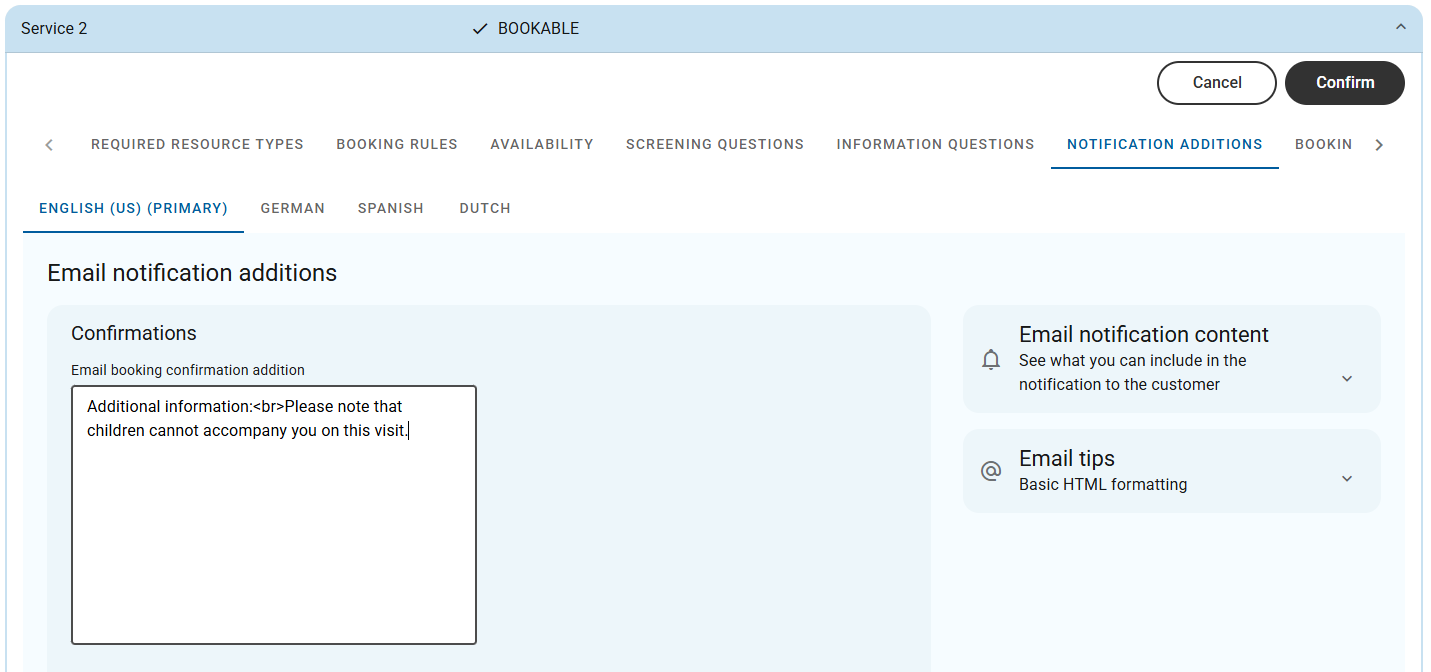
Go to Appointment Notifications and insert the variable {15} where you want to place the service-specific addition.
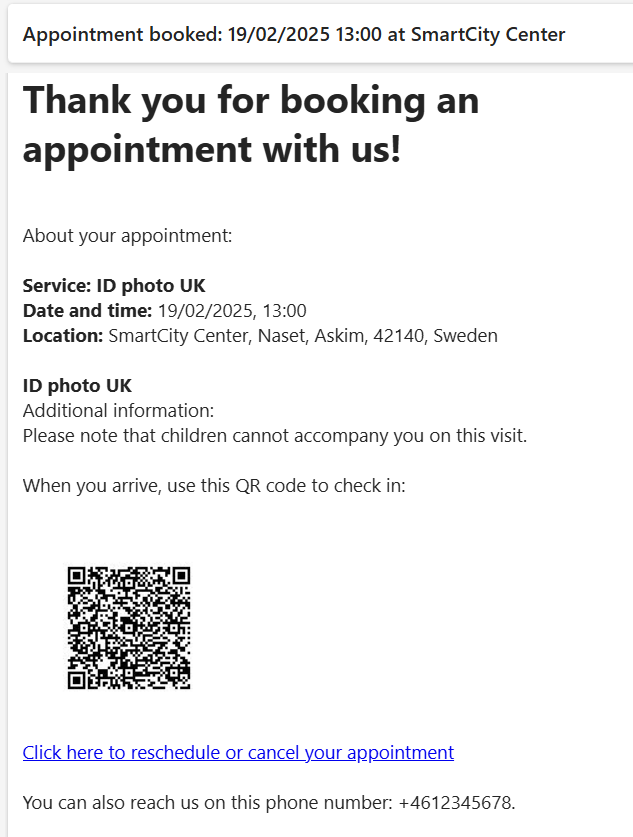
The message now looks something like this:

The notification is now configured with variables for appointment information, service-specific content, and a QR code for check-in. When sent, the message will appear similar to this:
Tutorial: Create a Visit Create notification
This tutorial describes how to create a notification that is sent automatically when a visit is created. The message includes the customer’s ticket number and a link to Mobile Ticket.
Go to Business Configuration > Notification Admin > Visits > Create.
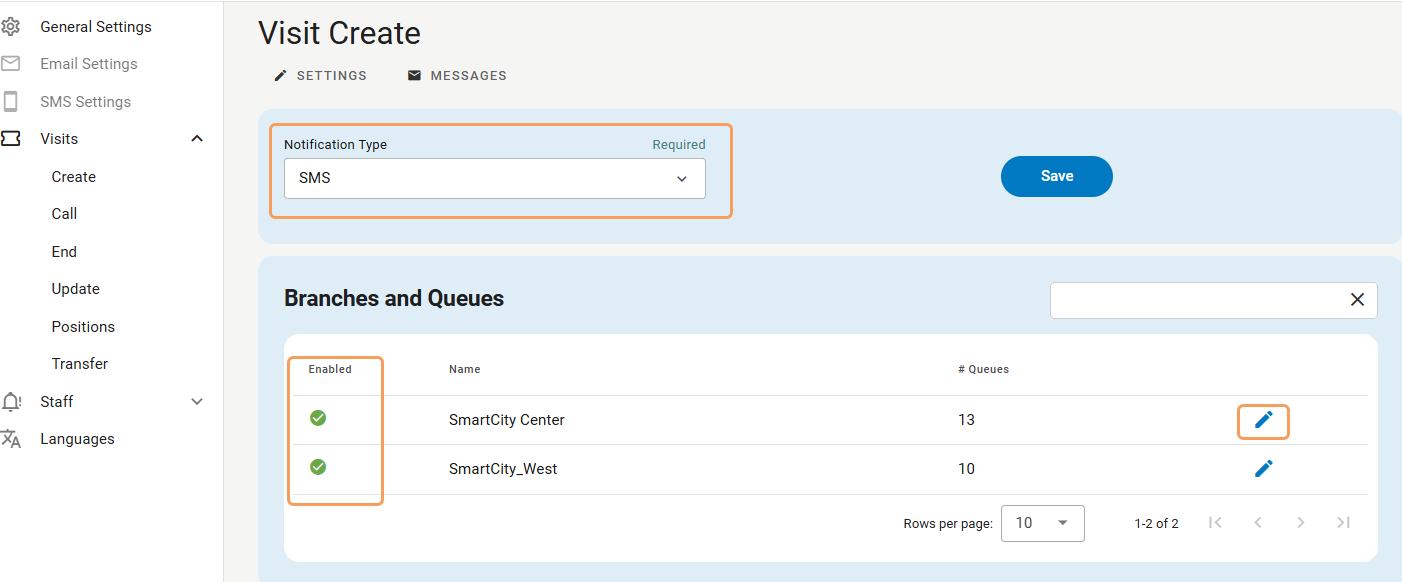
For Notification Type, select SMS. This is the recommended method for real-time communication with customers. Save your selection.
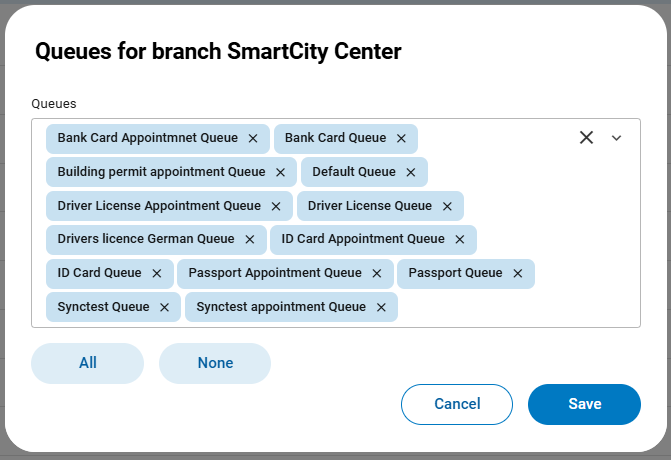
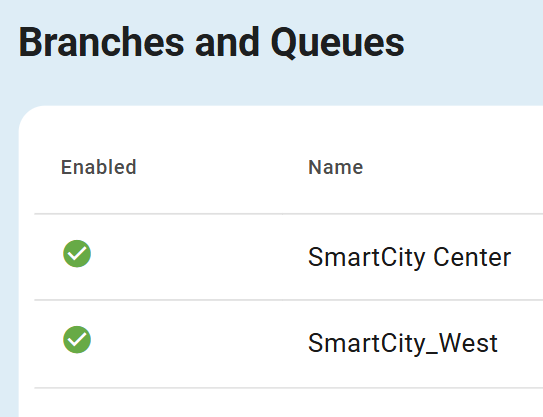
Select the queues to send the notification to by clicking Edit for each branch and select your queues. To send the notification for all queues, select All.
Note
Note that different messages for individual queues or branches cannot be configured. The selection applies per branch.
When at least one queue is selected for the branch, the branch is marked as Enabled.
Go to the Messages tab. To configure a message that applies to all services, select All from the service drop-down.
Note
The standard message is sent to all services that do not have a specific message defined. A service-specific message overrides the standard one.
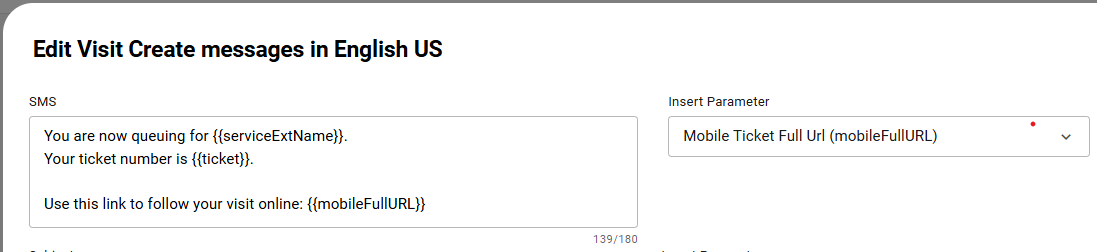
Plan the message content before writing. The interface shows the available variables (parameters) on the right-hand side.
The message could look something like this:
Adjust the message content as needed. To test the configuration, create a visit using your own phone number.
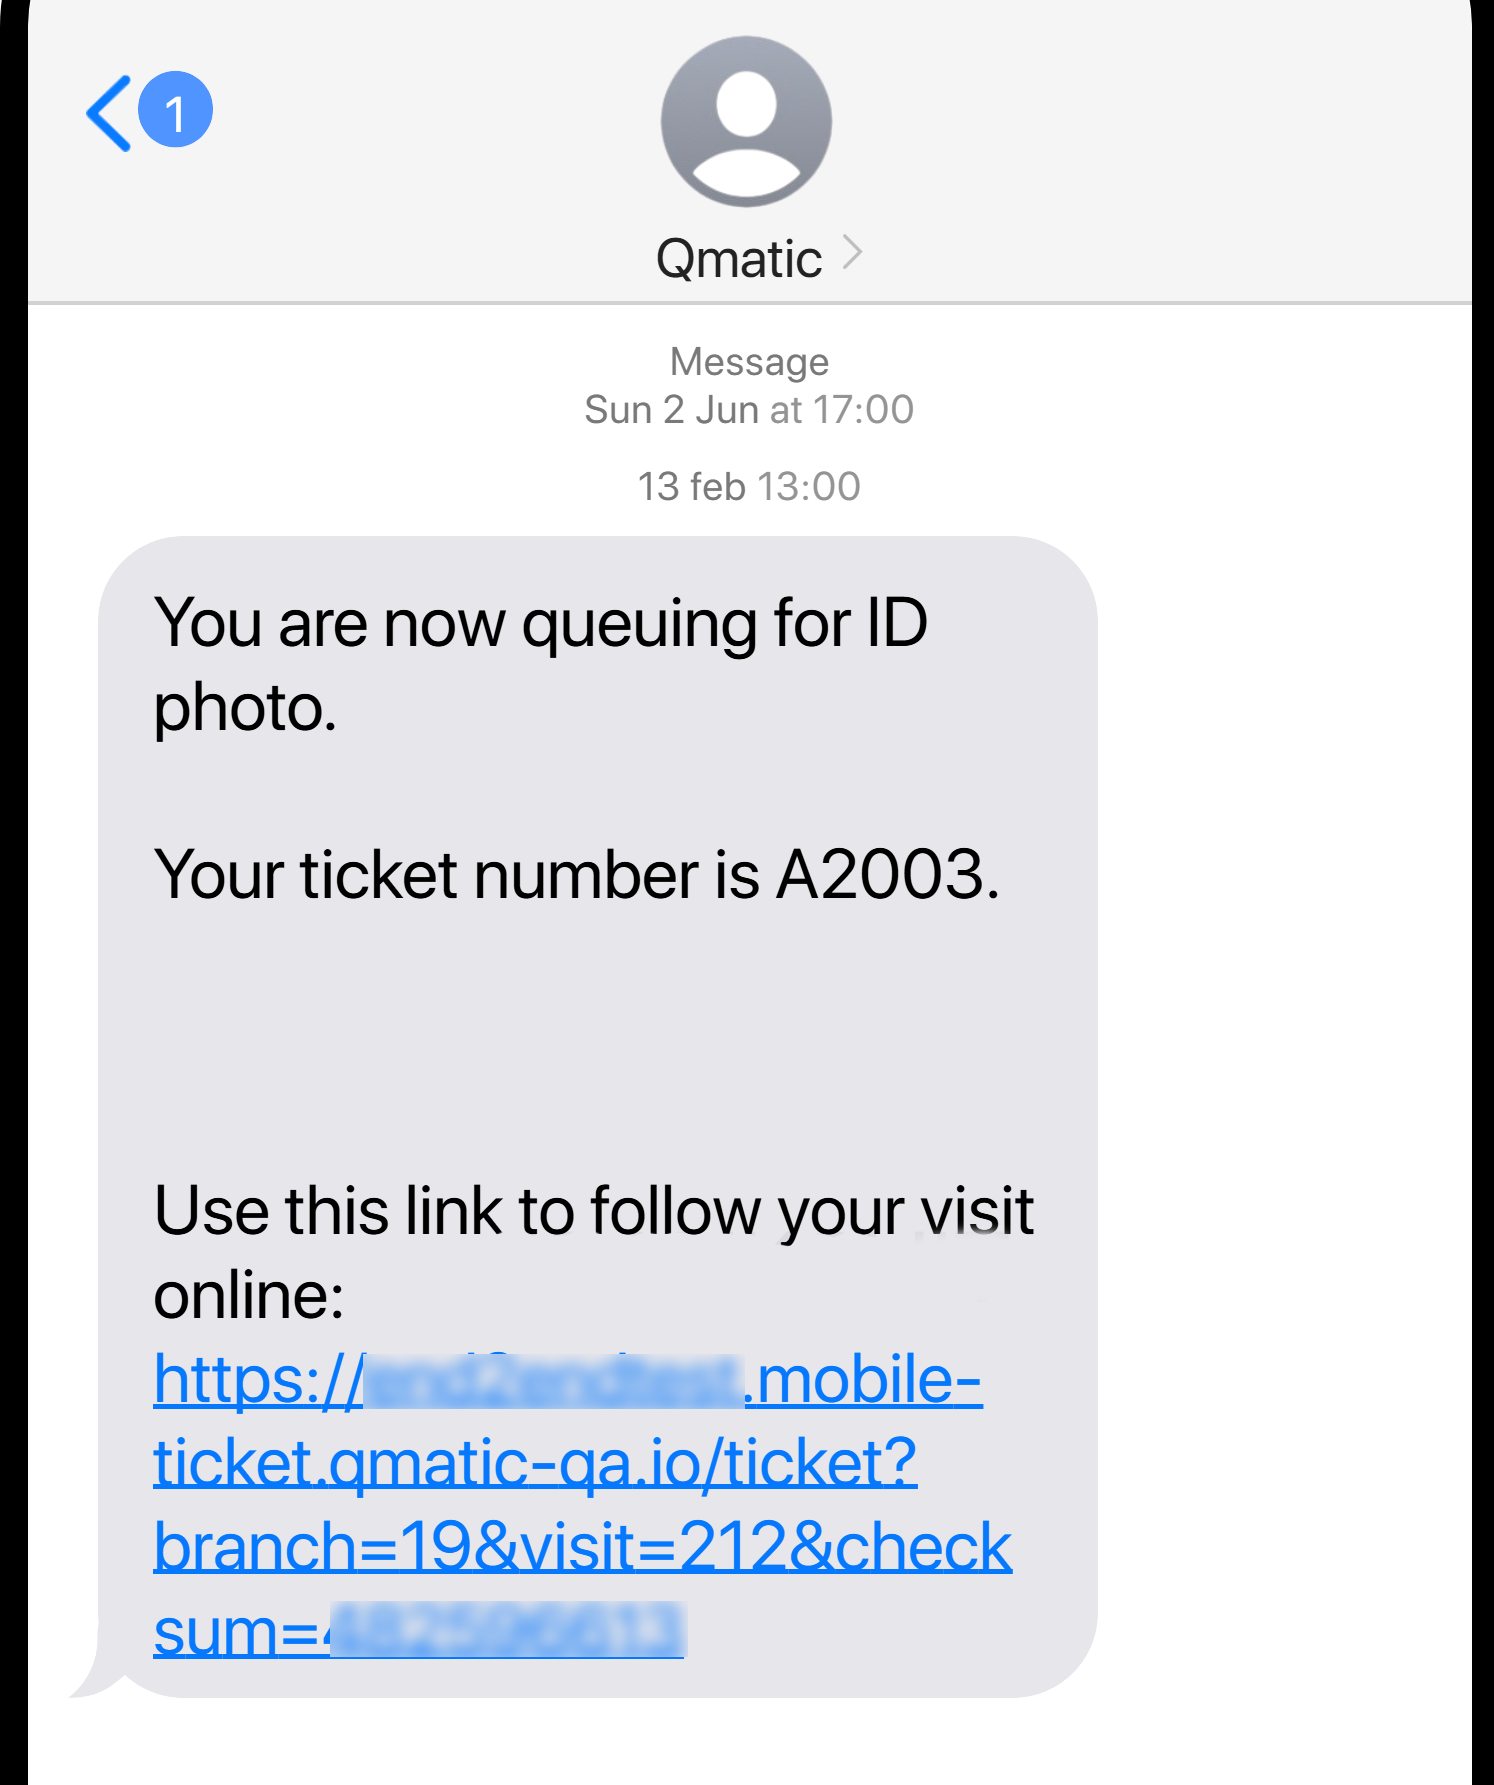
The notification is now configured to include the customer’s ticket number and a Mobile Ticket link. When sent, the message will appear similar to this:
Tutorial: Send an instant notification via SMS
This tutorial shows how to manually notify customers who are currently in the queue—for example, in the case of a branch closure, service outage, or other urgent updates.
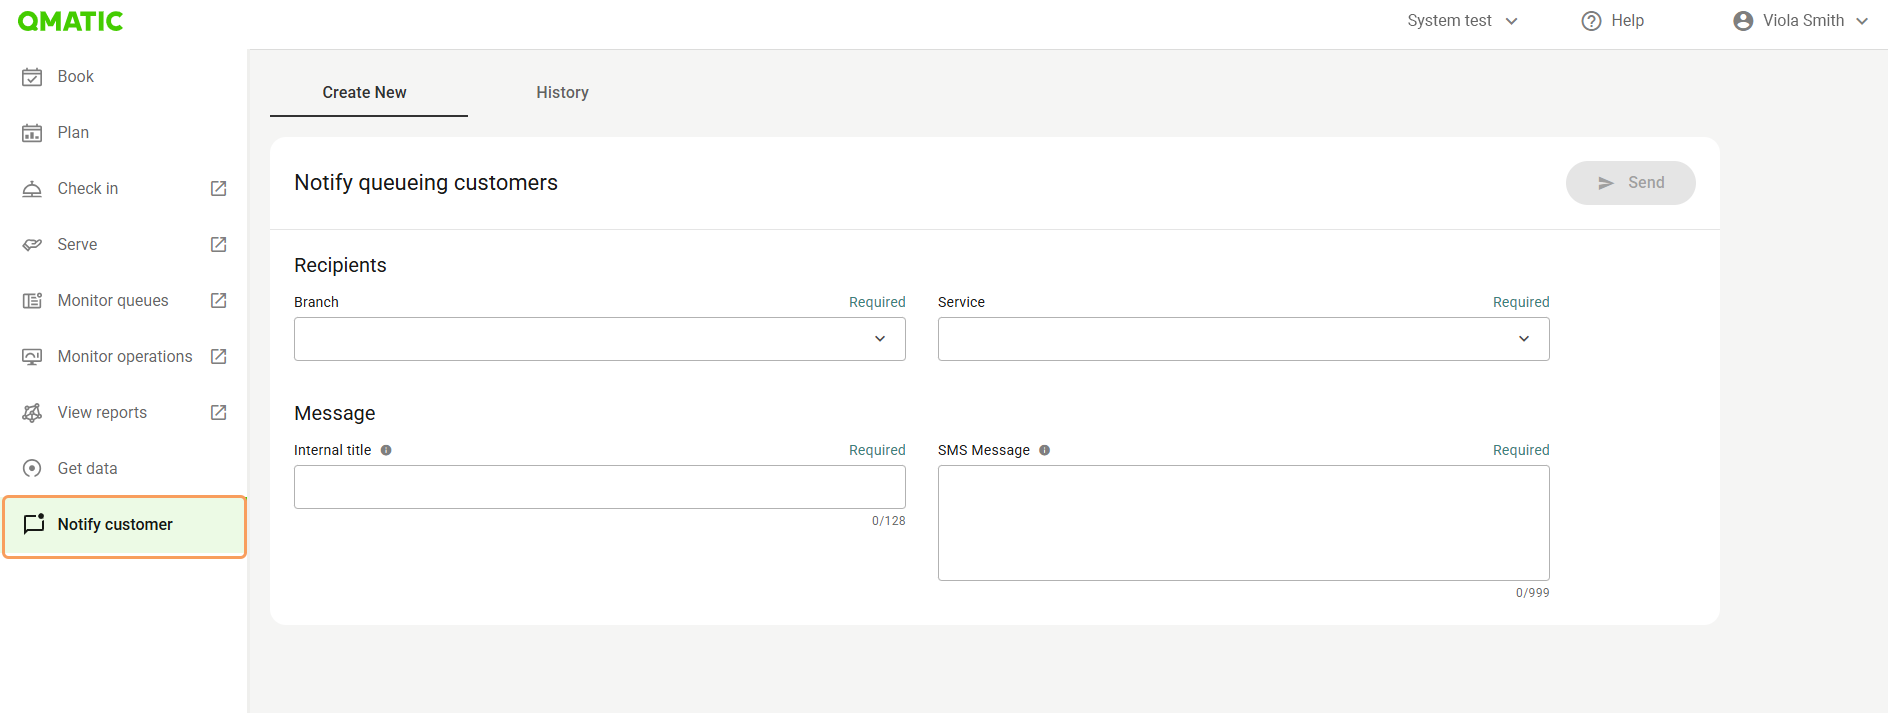
Click Notify customer in the menu. The Notify queuing customers view opens.
Note
You need the Notifications manager role to see the Notify customer menu option, and to send instant notifications.
Select one or more branches and one or more services to define the recipient list. To include all branches or services, select All.
Enter an internal title. This title is used for internal reference only and is not shown to recipients.
Enter the contents of the message.
Note
You cannot use variables (notification parameters) in instant notifications.
Review the message details, and click Send. A confirmation dialog appears.
Confirm by clicking Send again in the dialog.
Note
Once the message is sent, the system will begin processing and delivering the SMS notifications in the background. Delivery may take some time, especially if the recipient list is large. You can track progress and monitor delivery status on the History tab.
(Optional) Open the History tab to review previously sent messages. The list shows delivery status and how many customers received the SMS.
Tutorial: Create a staff alert for customer arrival
This tutorial describes how to create an alert that is sent to the primary resource of an appointment when a customer checks in. The message includes information about the queue, service, and appointment time.
Go to Business Configuration > Notification Admin > Staff > Arrival.
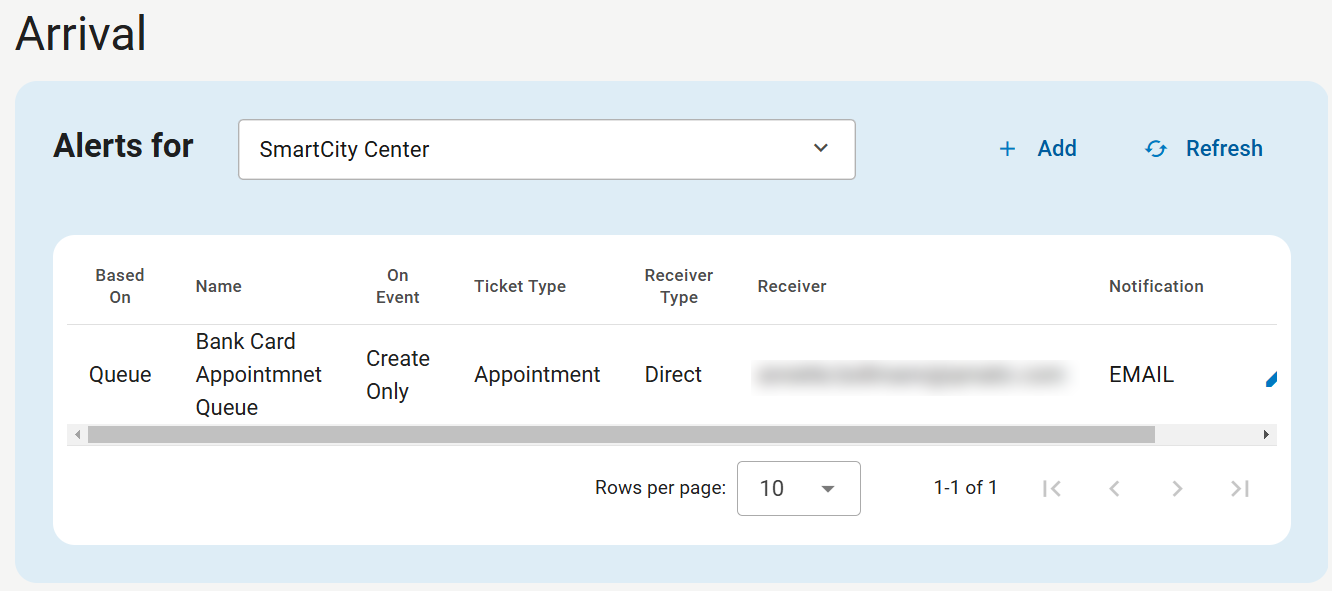
Select a branch.
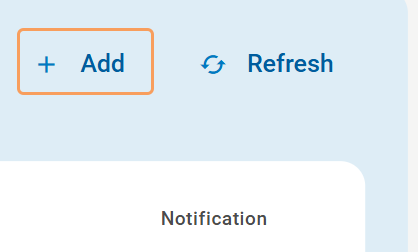
To create a new alert, click Add.
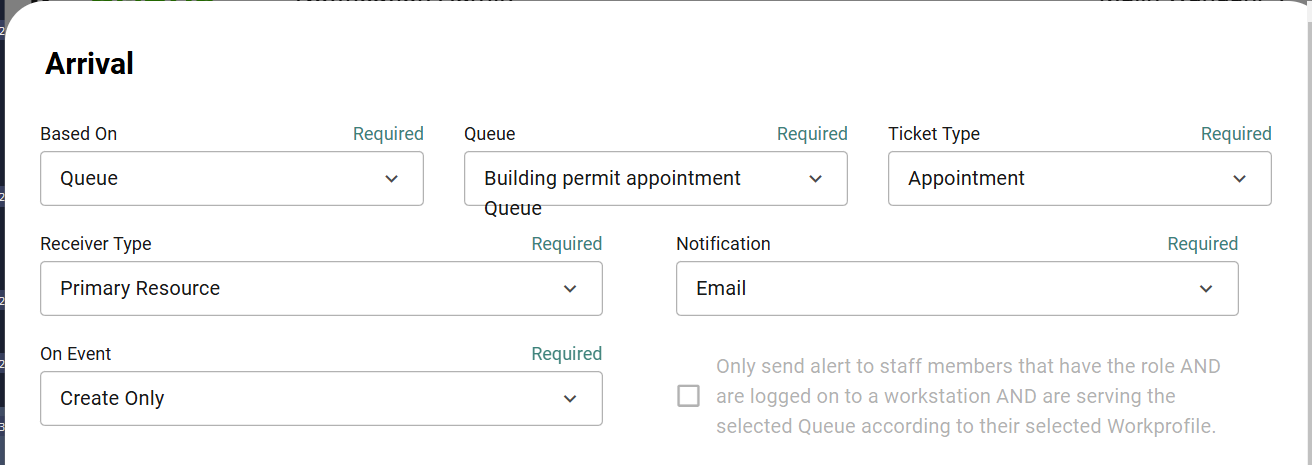
Configure the settings for the arrival alert:
Based on: Queue
Select whether the alert should be triggered based on queue or service. In this case, use Queue to trigger the alert when a customer joins a specific queue.
Queue: Building permit appointment queue
Select the relevant appointment queue where customers are placed after check-in.
Ticket type: Appointment
Receiver type: Primary Resource
The alert will be sent to the person assigned as the primary resource for the appointment.
Notification: Email
When sending notifications to the primary resource, only Email is available since the system does not have access to the phone number.
On Event: Create Only
Since visits cannot be transferred to appointment queues, select this option to send the alert only when the visit is created in the appointment queue.
Create the message content. The interface provides a list of variables (parameters) that can be used in the message.
Adjust the message content as needed. To test the alert, temporarily change the Receiver type to Direct and enter your own email address. Then create an appointment and check in the customer to trigger the alert.